Every time I have the pleasure of attending an event produced by our own events team, I am always awestruck by their attention to detail.
This was definitely the case at last week’s Boston Business Journal Summer Networking event which Castle sponsored and our events group helped to produce.
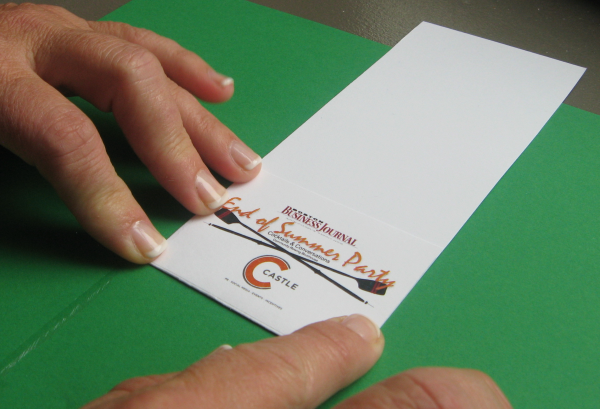
One of the things that struck me the most was this little gem, a custom-made envelope created to hold film-strip photos taken at a photo booth at the event.
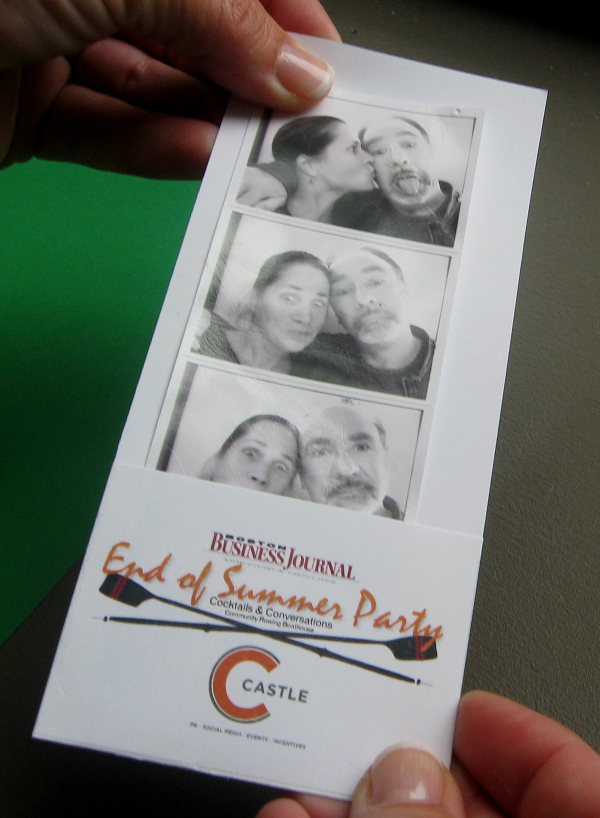
This is a great example of how the events team thinks – always coming up with new ways to extend the client’s brand through all aspects of the event – and finding a clever way to execute it.
I asked our Deb Spencer to share her simple method for all of you latent crafters and party hosts.
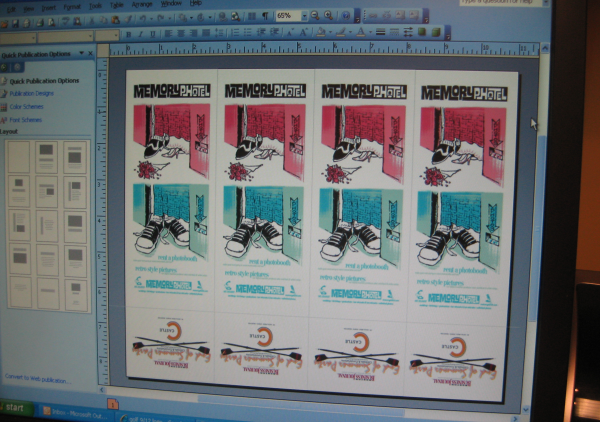
Step 1:
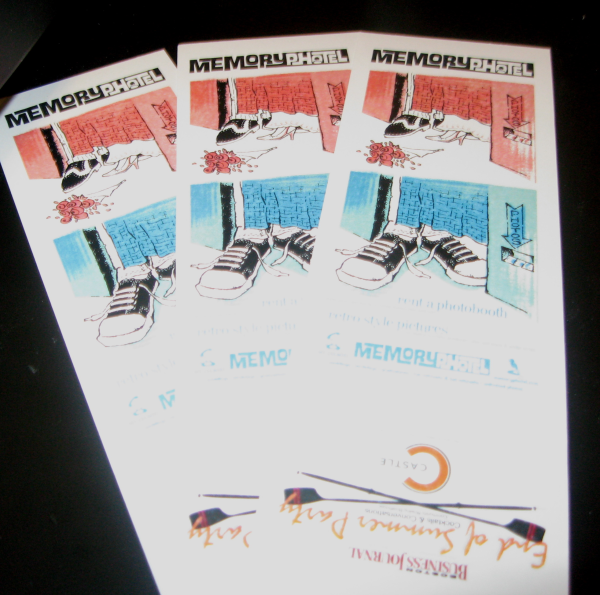
Layout out the design in four columns on a horizontal 8 ½ x 11. Deb used Microsoft Publisher, but any program where you can create four columns will do.
For the artwork that appears on the “flap,” be sure to turn it upside down.
Step 2:
Print the sheet in color on a medium-weight card stock.

Step 3:
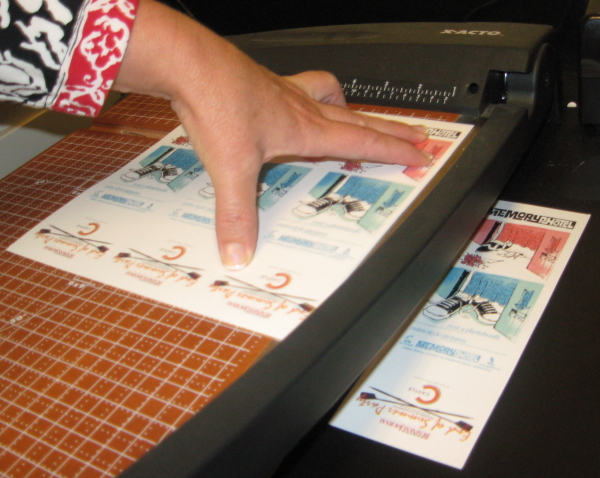
Cut the sheet in four pieces using a paper cutter.
Step 4:
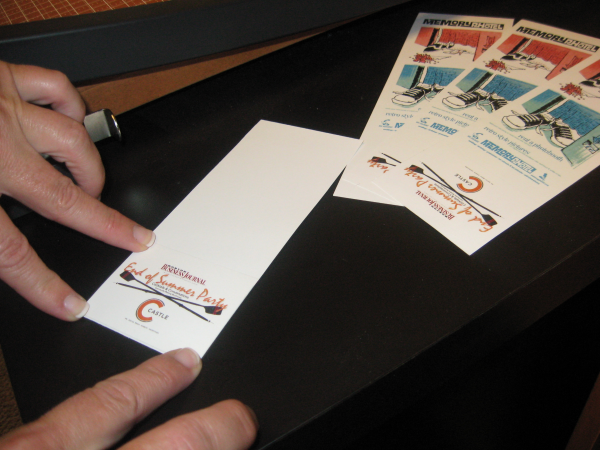
Fold up the bottom of the cut sheet to create the pocket.
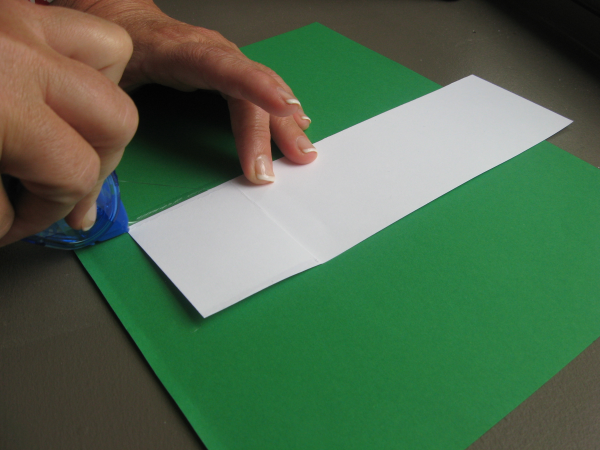
Step 5:
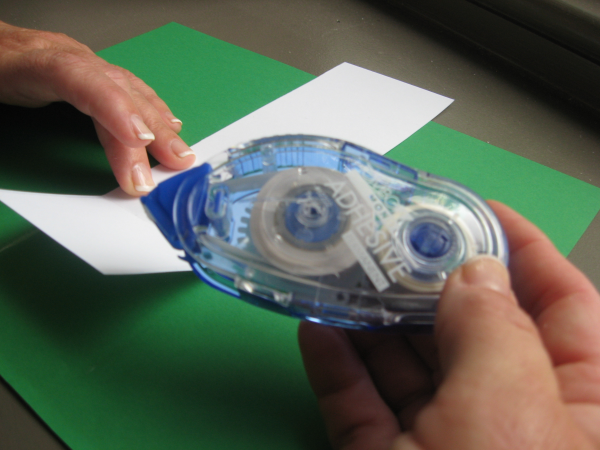
Use rolling scrapbooking glue tape to seal the sides.
Step 6:
Insert photos and enjoy!